Simulating Dust with Fume FX
01.1 Before Simulating Dust Fumes through Fume FX, we have to re-cache the whole simulation. So in order to do that we have to remove the older Cached Simulation first by selecting the ‘Cache Unset’ option from the right click menu of the ‘Main’ Dynamic set. And now we are ready to cache the simulation by selecting ‘Cache Record’ option from ‘Main’ Dynamic Set’s right click menu.

Fig 01.1
01.2 We will now generate Dust Fumes according to the Dust particles being generated from the box. So for that we will create the ‘Fume FX’ container around the particles from the ‘Geometry’ tab of ‘Create Panel’.

Fig 01.2
01.3 Place the container covering most of the flying pieces of card-board box by viewing it from all the view-ports. We will now link this container with the dust particles through ‘Particle Source’.

Fig 01.3
02.1 Create a ‘Particle Source’ helper from the ‘Fume FX’ roll-out under the ‘Helpers’ tab. Inside its parameters click on ‘Pick Object’ and select the ‘TP’ icon inside the view-port, in-order to get the selection window showing the groups of Thinking Particle system. Select the ‘Dust’ group from the ‘Select Thinking Particles Group’ window and hit OK.

Fig 02.1
02.2 Access the Fume FX User Interface by selecting the Container and hitting ‘Open Fume FX UI’ icon. Inside the General Parameters bring down the ‘Spacing’ Parameter to ‘1.0’. Also change the ‘Default’ output path for the Fume FX simulation to a local folder on our drive.

Fig 02.2
02.3 Switch to ‘Sim’ tab and bring down the ‘Maximum Iterations’ to ’80’ which will decrease the quality of Fume a bit and will also make the simulation render a bit faster. Increase the ‘Velocity Damping’ to ‘0.01’ and ‘Vorticity’ to ‘0.6’ in-order to get some more resistance.
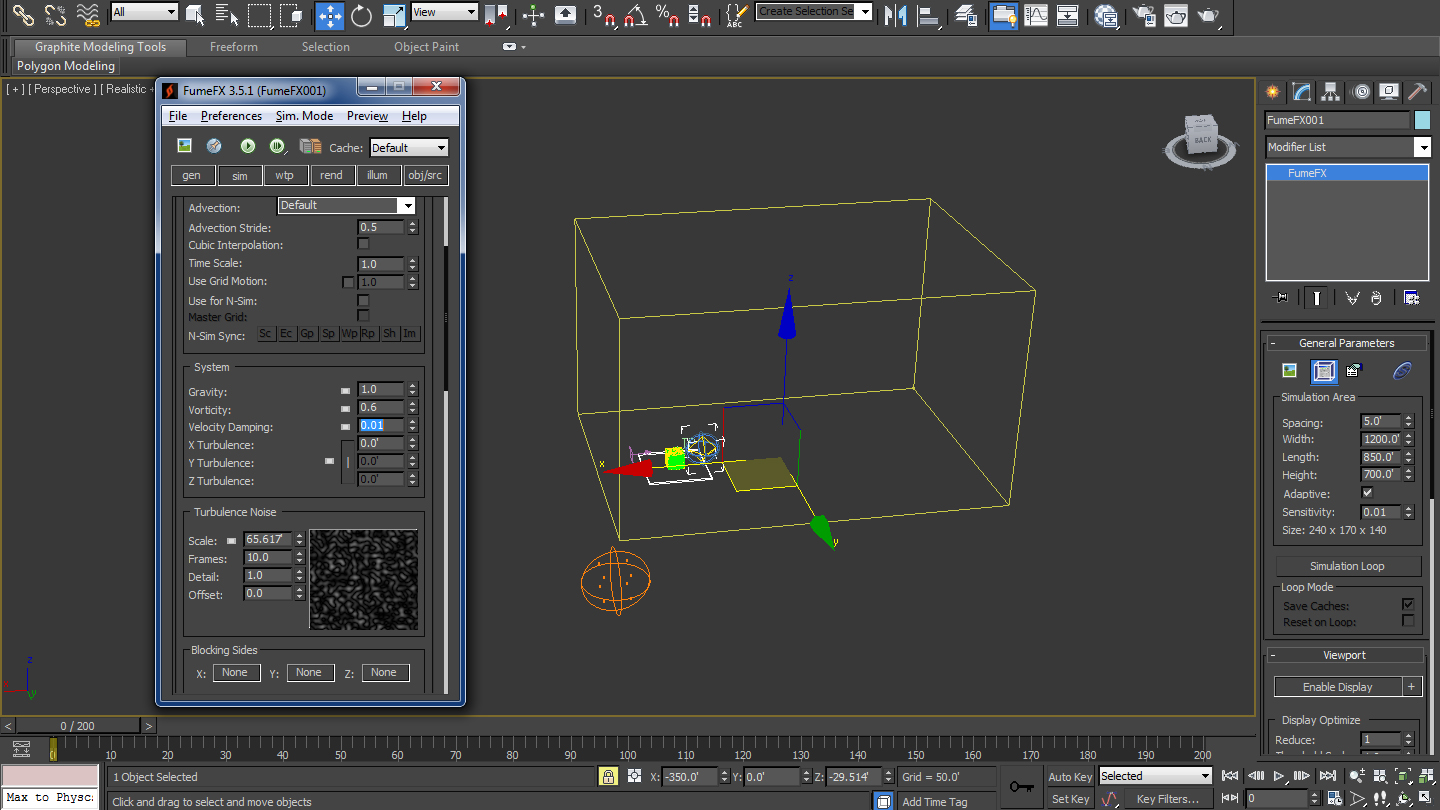
Fig 02.3
03.1 Bring down the ‘Scale’ inside the ‘Turbulence Noise’ parameters to ‘9.0 inch’ in-order to generate some tight noise inside the Fume. In order to make the Fume simulation a bit slower increase the ‘Frames’ and ‘Detail’ to ’12’ and ‘5’ respectively. Change the ‘Z’ parameter of ‘Blocking Sides’ to ‘-Z’ which will create a floor for the fume FX by forbidding it to go towards the – Z Direction.
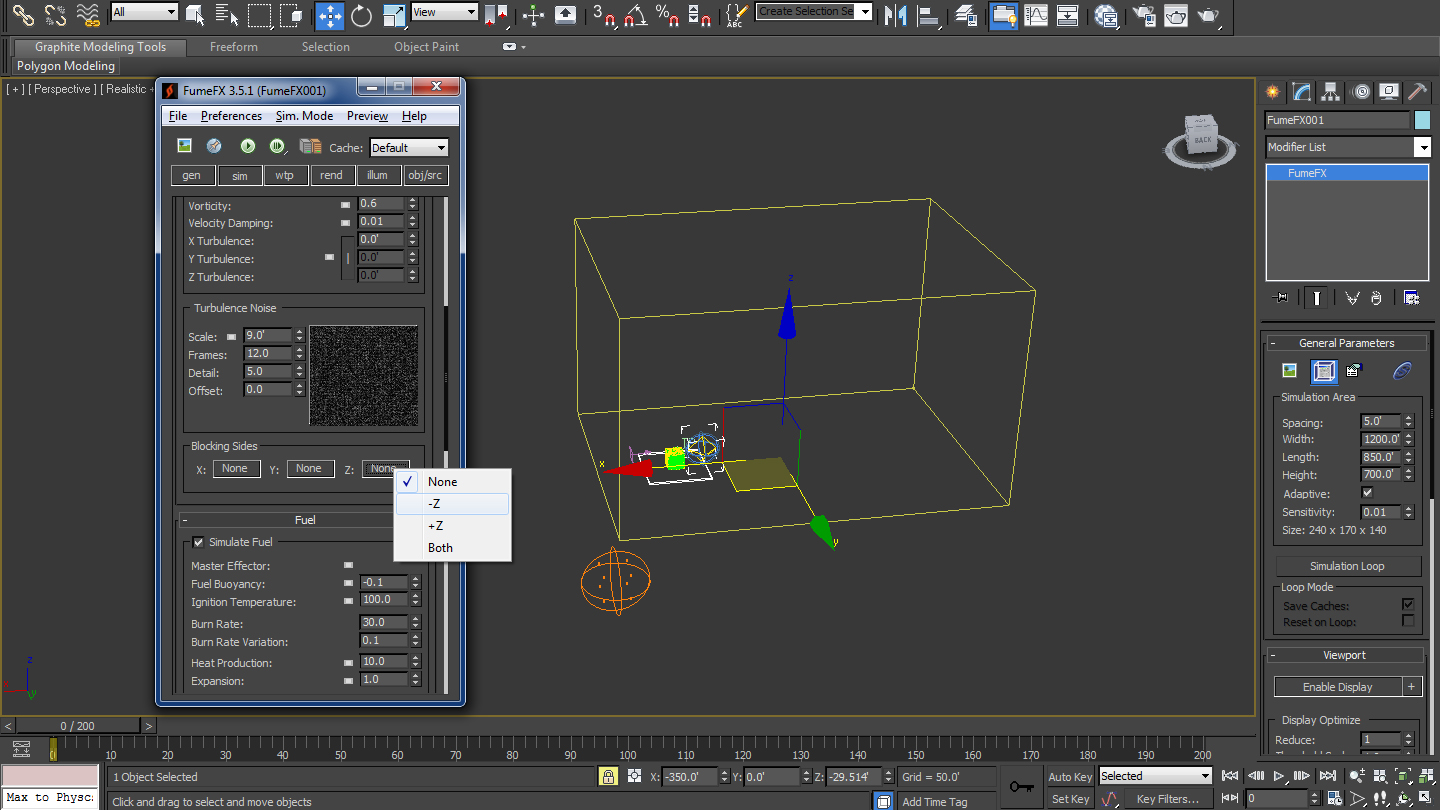
Fig 03.1
03.2 Deselect the ‘Simulate Fuel’ option in order to get rid of the fuel effect inside the Fume simulation. Inside the ‘Smoke’ parameter increase the ‘Dissipation Min. Density’ to ‘3’ and ‘Dissipation Strength’ to ’20’. We don’t want to make the Fume to rise too much, therefore we will decrease the ‘Temperature Buoyancy’ inside the ‘Temperature’ Parameter to ‘0.3’.

Fig 03.2
04.1 Now we will make the main lights of the scene to light up the Fume FX. First of all we will ‘unhide’ the ‘VraySun001’ light from the right click menu inside the view-port. Switch to ‘Illum’ tab and select ‘VraySun001’ from the view-port through the ‘Pick Light’ option inside the ‘Illumination Parameters’.

Fig 04.1
04.2 Switch to ‘Obj/Src’ tab and bring in the source object by selecting the ‘Particle Source’ helper inside the scene from the ‘Pick Object’ option. Increase the ‘Radius’ inside the ‘Radius’ parameter to ‘4.0’ and ‘Variation’ to ‘25.0’. Also increase the ‘Variation’ of ‘Velocity Multiplier’ to ‘35.0’.

Fig 04.2
04.3 Inside the ‘Rend’ tab turn on the ‘Cast Shadows’ and ‘Receive Shadows’ for Smoke inside the ‘Smoke’ parameters. In order to get some ash dust look out of the Fume change the color of Smoke to Grey by selecting ‘Keyless Mode’ from the right click menu of the color. Also bring up the ‘Opacity’ parameter to ‘5.0’.
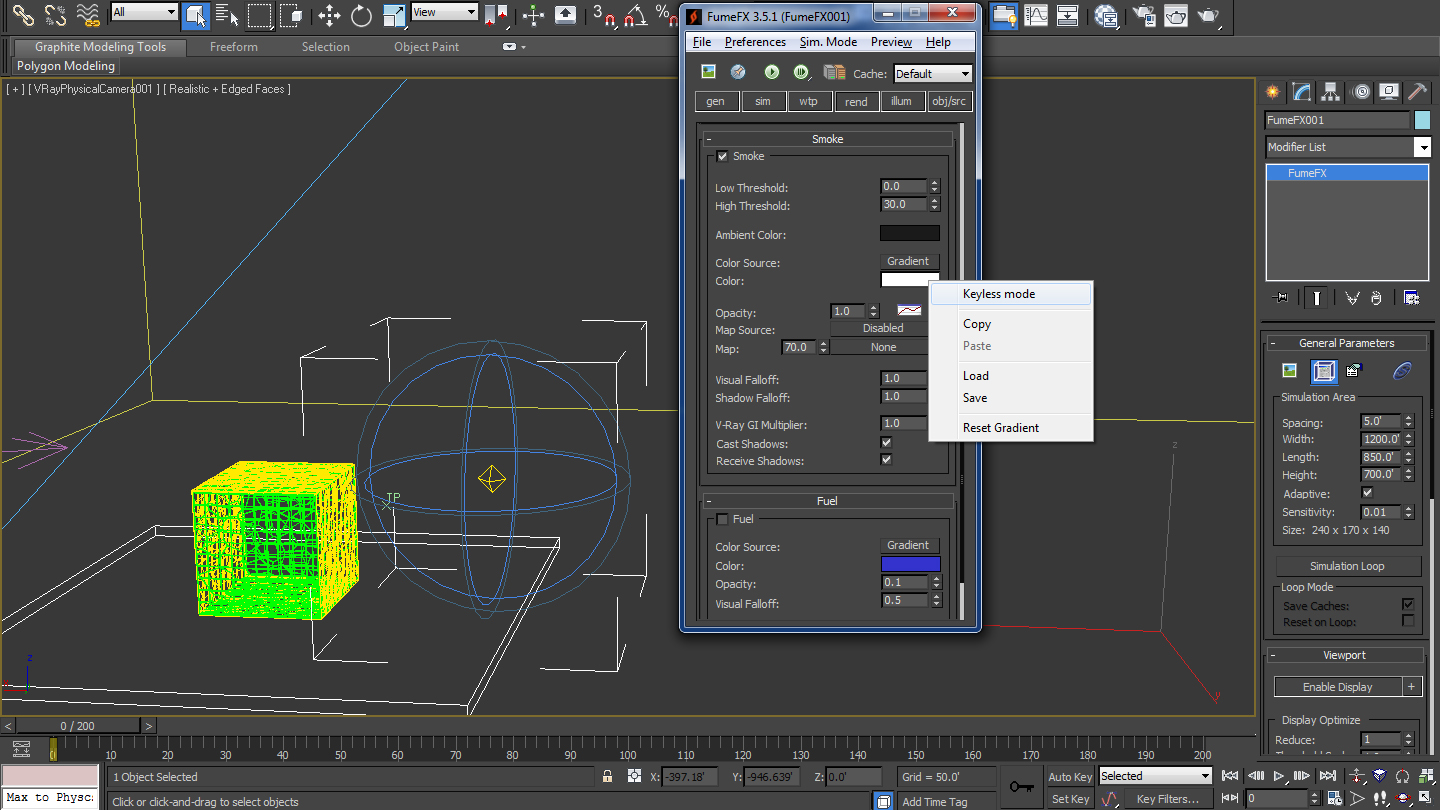
Fig 04.3
05.1 Now we can start solving our Fume FX Dust simulation by hitting ‘Start Default Simulation’ button on the Fume FX UI. We can also preview the simulation simultaneously by clicking on ‘Open Preview Window’ button.

Fig 05.1
05.2 We will now refine the simulation by updating few things. Switch to ‘Sim’ tab and decrease the ‘Time Scale’ parameter to ‘0.9’ in order to slow down the speed of the smoke. Under the ‘Temperature’ section bring down the ‘Temperature Buoyancy’ further down to ‘0.25’. Also bring up the value of ‘Dissipation Strength’ to ‘20.0’ and ‘Dissipation Min Dens’ to 3.0 from the ‘Smoke’ section.

Fig 05.2
05.3 Select ‘Use GPU’ option from the Preview panel on the Fume FX UI for a faster preview. Also select ‘Shadows’ from the View panel of ‘Fume Fx Output Preview’ window for shadows inside the preview window. In the end select ‘Make Preview’ option from the Preview panel, in order to save the preview of the simulation.
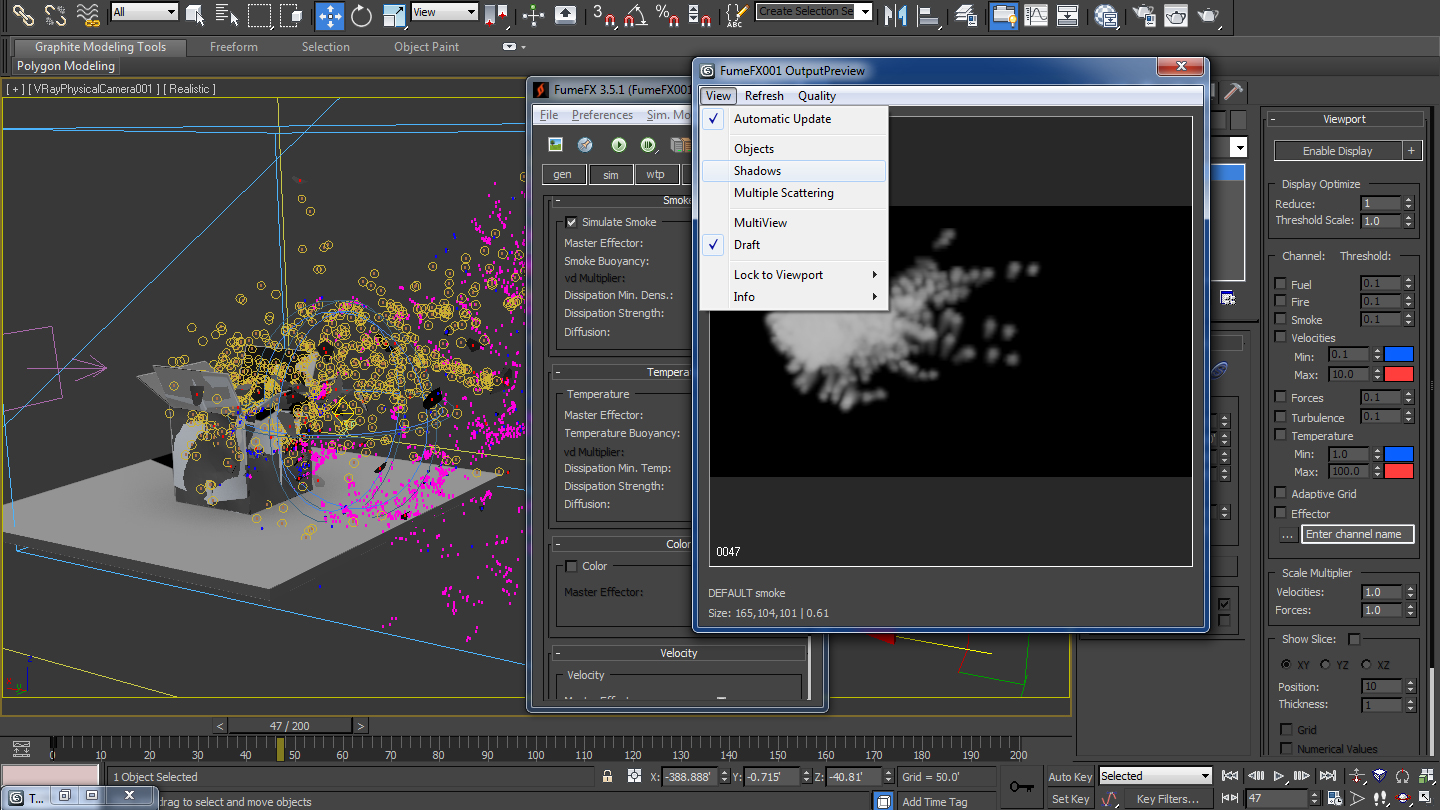
Fig 05.3