HDRI stands for ‘High Dynamic Range Image’ where Dynamic Range is basically the difference between the lightest and the darkest spot one can capture in a photograph. So we can say that HDRI is a photograph that composes a greater dynamic range between the brightest and darkest areas of the scene than the standard photographs.
But generally when we take a photograph at the standard exposure levels it is arguably impossible to capture the both ends of spectrum in a single image. Once our scene exceeds the camera’s dynamic range, the highlights tends to washout to white, or the darks simply becomes big black spots. So in order to capture a great Dynamic Range between the lightest and the darkest areas of a scene photographers nowadays have developed many methods using the latest photographing techniques and advanced post processing programs.

One of the most common methods of capturing a HDR image is by capturing 3 different photos of the same scene at different exposure levels and then blending or stitching them together with a post processing program. In a more elaborated way, in this method a photographer captures a scene with a range of bracketed photos, i.e. the photo of the same scene captured with different combinations of shutter speed/aperture/ISO. It is usually taken in order to produce different sets of images with varying ‘Luminosity’ and ‘Depth of Field’. Then these photos are stitched in a post processing program where the highlights, mid-tones and shadows of these images are blended together to produce a single image comprised of the most focused, well lit and colorful parts of the scene.
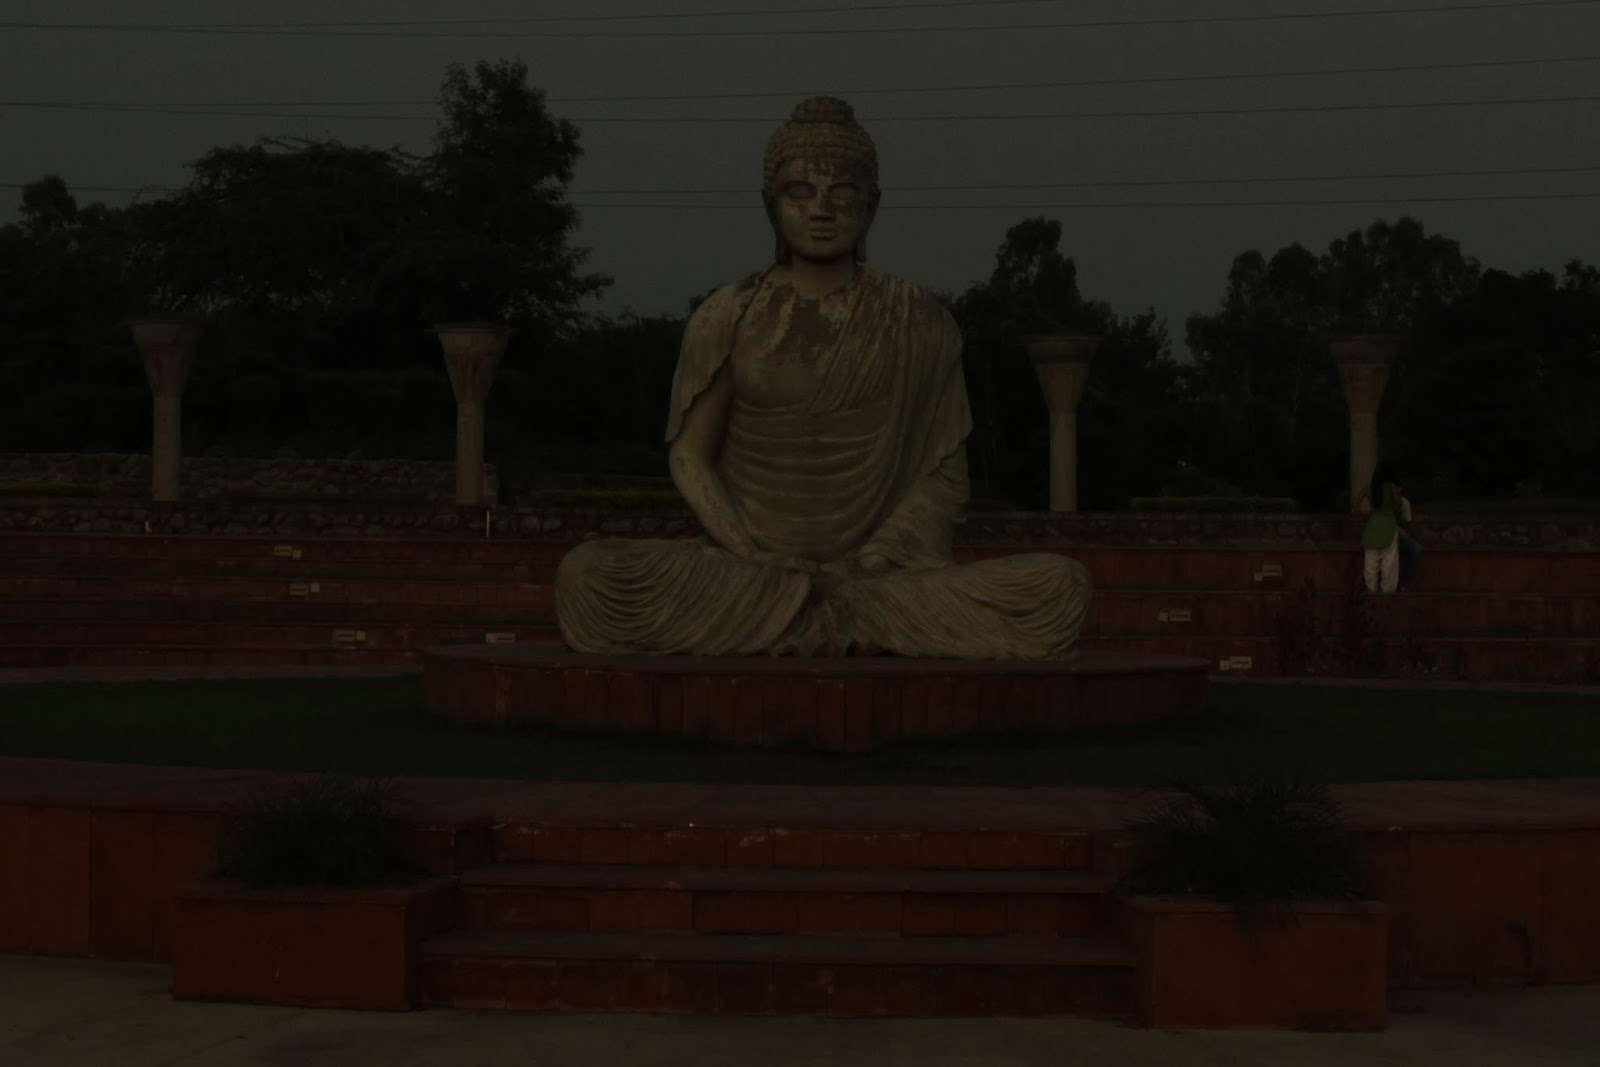
Image 1.0 Exposure Level -2

Image 2.0 Exposure Level 0

Image 2.0 Exposure Level +2
In this method all we need in order to create an HDR image is a ‘Camera’ with an ‘Auto Exposure Bracketing’ function, a ‘Tripod’ or a ‘Stabilizer’ and a HDR Photo Blending Software.
1. We will start by putting up our camera on a tripod. This will help in avoiding any sort of shake in our photographs as we require to capture 3 images of the scene from the same position and angle. A little bit of shake can sometimes get really difficult to align in post.

2. Next we will turn on the AEB function of the camera with the exposure levels ranging from -2 to +2. This feature will helps in capturing photographs at the exposure levels of -2 (capturing all the dark color variations of the scene), 0 (capturing all the variations in normal colors of the scene) and +2 (capturing all the variations in the bright colors of the scene.)

3. Also enable the ‘continuous shoot’ function from the camera functions. This function will helps us in clicking multiple photographs on a single click which will help in reducing the chances of camera jitter while pressing the click button thrice.

4. Once we are done with the image capturing part we are ready to blend them with a HDR photo blending program capable of merging the images using different sets of algorithms. One of the most advanced HDR photo blending program is ‘Photomatix’ due to its powerful, fast, advanced, and full featured options.
